In our fast-paced world, where staying connected is paramount, having a reliable power source for our devices is essential. Ronin Power Bank has emerged as a trusted companion for those constantly on the move, offering a blend of portability and power. In this comprehensive guide, we’ll delve into how to unleash the full potential of the Ronin Power Bank, including how to check charging status, turn it on, and effectively utilize it to charge your phone.
Understanding the Ronin Power Bank
Before we delve into its usage, let’s familiarize ourselves with the key features of the Ronin Power Bank:
- Capacity: The Ronin Power Bank comes in various capacities, typically ranging from 10,000mAh to 30,000mAh, catering to different charging needs.
- Ports: It usually includes USB-A and USB-C ports, allowing you to charge multiple devices simultaneously.
- Compact Design: Despite its high capacity, the Ronin Power Bank is designed to be portable, making it ideal for travel or daily use.
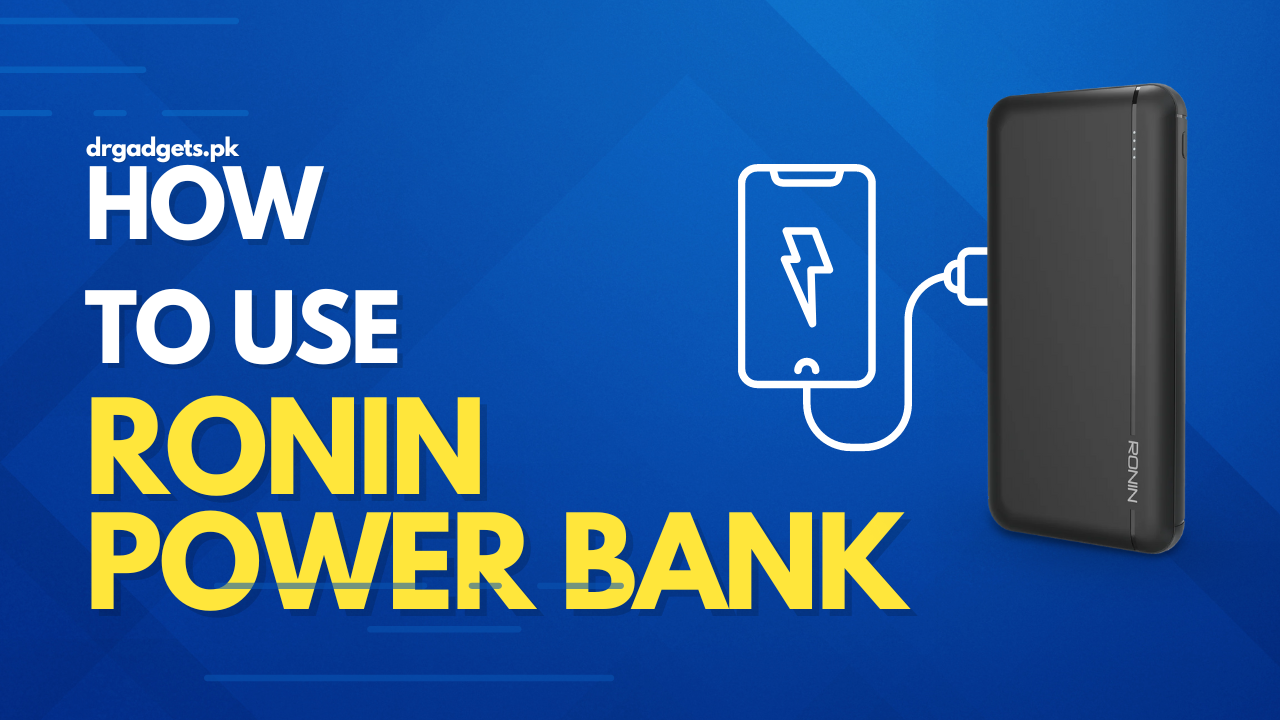
How to Use
Charging your phone using the Ronin Power Bank is a simple and efficient process:
- Connect Your Phone: Use a compatible USB cable to connect your phone to the USB-A or USB-C port on the Ronin Power Bank.
- Check Charging Status: Once connected, check your phone’s screen to confirm that it’s charging. Additionally, you can refer to the LED indicators on the power bank to ensure it’s supplying power.
- Monitor Charging: Keep an eye on your phone’s battery level to track the charging progress. You can also periodically check the LED indicators on the Ronin Power Bank to monitor its remaining battery capacity.
- Disconnect When Done: Once your phone is fully charged or you no longer need to charge it, disconnect the USB cable from the power bank to preserve its battery life.
How to Check Charging Status
Checking the charging status of your Ronin Power Bank ensures that you’re aware of its battery level before heading out. Follow these steps:
- Press the Power Button: Locate the power button on the Ronin Power Bank. Press it once to illuminate the LED indicators.
- Interpret LED Indicators: The LED indicators will light up, indicating the remaining battery capacity. Typically, four LED lights represent a fully charged power bank, while one LED light indicates low battery.
- Note the Blinking Pattern: If the LED lights blink, it usually indicates that the power bank is currently charging.
How to Turn On the Ronin Power Bank
Turning on the Ronin Power Bank is a straightforward process:
- Press and Hold the Power Button: Locate the power button on the Ronin Power Bank. Press and hold it for a few seconds until the LED indicators illuminate.
- Release the Button: Once the LED indicators light up, release the power button. The power bank is now turned on and ready to use.